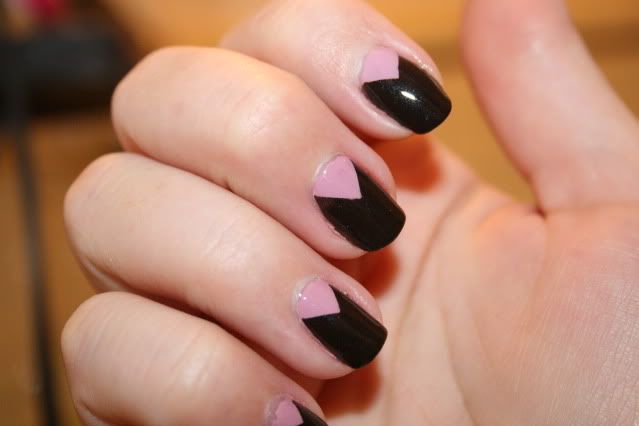
I have been obsessed with doing this for a while and I finally bit the bullet:
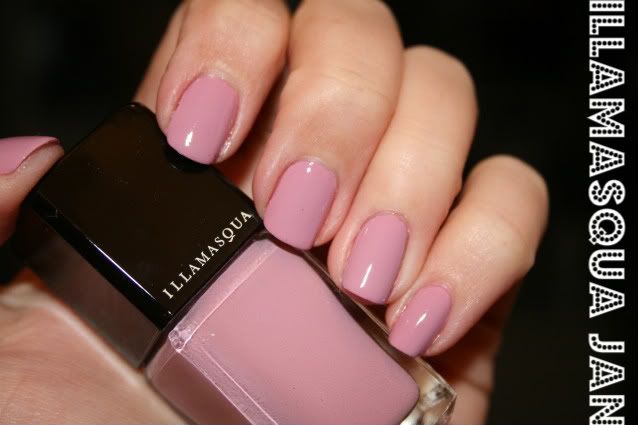
For this look, I used Illamasqua Jan as the base coat. I had this on as a regular manicure for a day or so before I attempted the chevrons, which I think is the best tactic. You will want the base coat to be very, very dry.
Incidentally, I love Jan on its own:
For the black part, I used Chanel Black Satin. Normally I would have reached for my go-to black, Milani Black Magic, but when I tried this out on one nail my boyfriend was still asleep, and I didn't want to wake him by rummaging through boxes of nail polish. But I knew Black Satin was within reach, and actually I really like this result because the polish has an ever-so-slight platinum shimmer.
A lovely MUAer suggested I used tape to create the chevrons, which worked like a dream. I used the wide, satin-finish Scotch brand tape. I just used the right angle of the tape to reduce the chance of variations. I put the tape on my fingernail to gauge placement, then trimmed around the bottom of my nail. (Creating a pie-shaped piece of tape.)
Once the tape was in place on all my fingers, I painted on the black polish. When that dried, I removed the small pieces of tape with tweezers.
Then I put a coat of OPI clear over the whole manicure, followed by a coat of SV.
One thing I would recommend is getting enough of the clear coats on the brush so you don't have to go back over the pink part...I had a few little streaks of black polish come through.
I'm not usually one for nail art, like, AT ALL. But I love the retro-glam appeal of this look, which is reminiscent of Dita von Teese's moon manicure.


2 comments:
Stylish and elegant. Thanks for the tips and tutorial. :)
You're welcome! I can't wait to do this with grey and black.
Post a Comment