9/24/10

Hayyyyyy.

I have some manicures to show you.

Photobucket

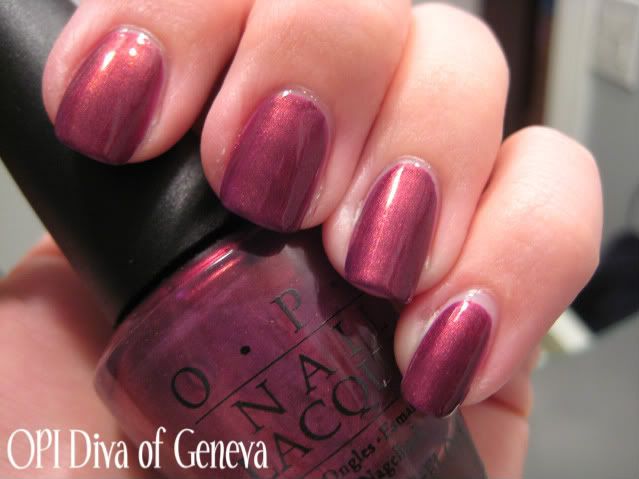
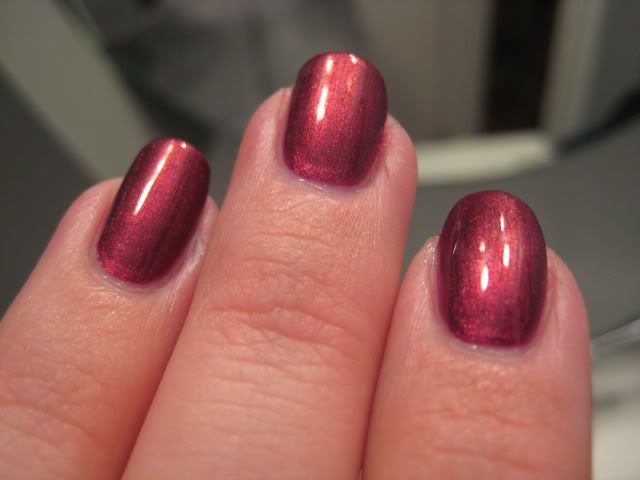
OPI Diva of Geneva. Honestly, this is the only color from the Swiss collection that I just had to get. And I don't really know why -- it's not green, it's not excessively glittery, it's not a duochrome or a holo...and I think that's why I like it. It's just a really pretty polish.

Photobucket


I loved this.
Photobucket


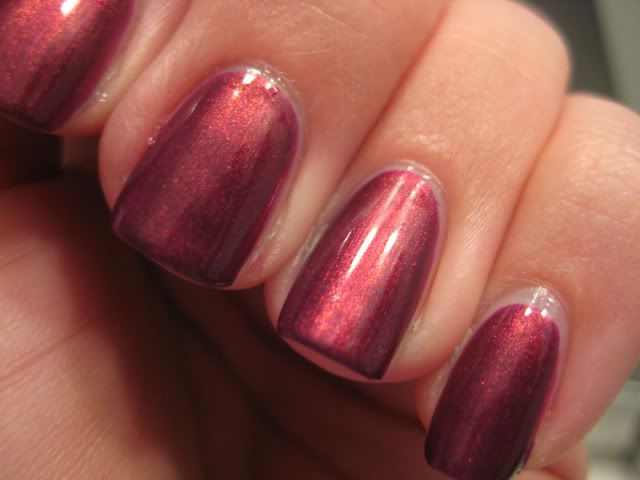
This is an unnamed LA Colors.
Photobucket
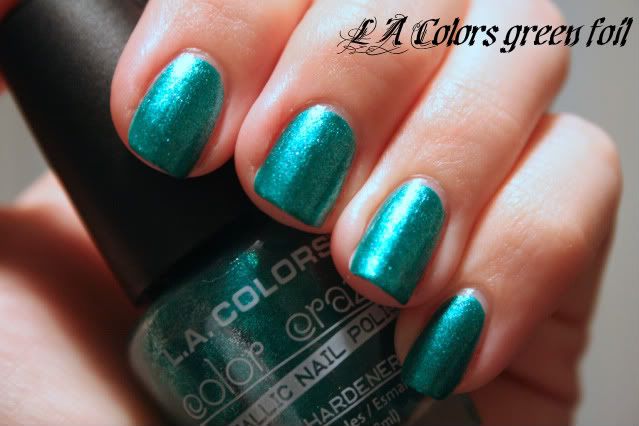
Beautiful green foil.


Photobucket

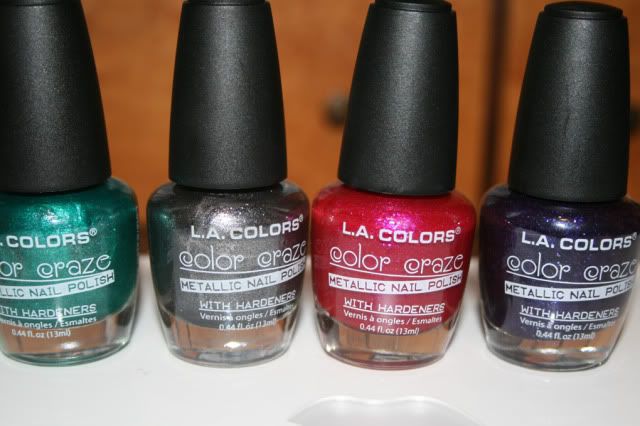
This set was $3 at CVS - .75 each! I love a cheap thrill, don't you? The only problem I've found with LA Colors is that the greens and blues stain terribly (my skin...not my nails). I use a little cuticle remover and a soft bristle brush to clean up. I've had great luck with the formula, though. Recommend!

That's all for today. Have a great weekend!

9/16/10

Chevron How-to

In my last entry I mentioned the chevron manicure - the only type of nail art, if you can call it that, I can really manage. I've tried water marbling before...once. It actually worked but it's labor intensive and kind of a hit-or-miss technique, because some polishes just don't work with the method. Also, I didn't use cuticle oil on my skin prior to the marbling and clean-up was a total pain.

So anyway, chevrons. These can be done fairly easily and quickly, and they have a retro look that I like. Reminiscent of a moon manicure, the chevron is just a little bit more foolproof because you can use a piece of tape to get a clean, sharp edge.

Please note that this certainly isn't the only/best chevron tutorial out there. I did a quick Google search and there appear to be videos and instructions with pictures. However it's difficult to take a picture of your own hands when...you're using them. So please feel free to ask questions if anything seems unclear, or, of course, check out one of the surely excellent videos/tutorials elsewhere on the Internet.

Here's how I do it.

You'll need:
- 2 colors of nail polish, both very opaque
- Scotch tape
- Scissors
- Tweezers
- Fine tip Sharpie marker or similar (optional)
- Your favorite top coat

1. First, I polish my nails with a base color. Typically, for me, this starts with a regular manicure that I want to change up a little OR that I'm enjoying but is starting to show a bit of tip wear. So my advice to you would be to build the chevron on top of a manicure that you've been wearing for at least a day. This way you can use the tape without fear of botching the base color.

2. When you're ready to do the chevrons, rinse (with plain water) and dry your hands. You don't want to use soap as it can leave a residue. I dry my hands on an old t-shirt so I don't pick up a ton of lint from a fluffy towel.

3. Get your Scotch tape, or cellotape, whatever. I used the wide-width, matte-finish "satin" kind, which seems to work well. Tear off a strip of tape about 1.5 inches long and trim off the jagged edge with your scissors.

4. Place the piece of tape on your nail with one of the corners pointing up toward the free edge of your nail. You can put it as high or low on the nail as you'd like. Make sure the position is as you like it (I center the point in the middle of my nail, you could do it off to the side for an asymmetrical look) and press down firmly.

5. Use the Sharpie to trace a line on the tape along your cuticle. This will serve as a cutting guide. You can eyeball this if you like, and skip the Sharpie step, but I like to have the guide. It's important to have the tape lie flat against your nail. The end result should be a piece of tape shaped like a piece of pie.

6. Cut along the cutting guide and place the tiny piece of tape back on your nail. Repeat for all ten nails. It's easier to do all 10 at once rather than as you go - less chance of messing up your handiwork.

7. Paint your nails with the second color. You want this color in particular to be very opaque, because ideally you only want to use one coat. You don't have to paint over the entire piece of tape - just enough to give you the chevron shape.

8. Allow your second color to dry fairly thoroughly. So, find something else to do with yourself for 10 minutes or so.

9. Using the tweezers, GENTLY pick up an edge of the tape piece and lift off. Do this slowly to avoid ripping off the base color or tearing the tape.

10. At some point, you may want to apply a top coat. Make sure that all of your polish is pretty much dry before you do this, to prevent smearing. I used Sally Hansen Insta-Dri top coat in the red bottle, but you can also use a coat of clear followed by a coat of Seche Vite if you like. Just don't put SV directly on top of dry polish.

And there you have it! Chevrons.

Photobucket

Photobucket

chevron,Essie MAY

9/14/10

Birthday Bash

I recently celebrated a birthday and naturally I chose to treat myself to some nail polish. This sounds less newsworthy than it actually is - I haven't been much interested in purchasing a lot of polish lately. For one thing, I'm saving for a new laptop. So when I pick up a bottle of polish in the drugstore and hold it lovingly in my hand, I have to really, really want it. Because otherwise I just think of it as $4 or $6 or $8 dollars that I could be spending on sweet sweet MacBook goodness.

Also...there hasn't really been much in the way of the new collections that's been pushing my must-have button. I never got too excited about China Glaze Vintage Vixen. Barielle's recent collections didn't do much for me. I didn't even get very worked up about the OPI Swiss collection although there are some I wouldn't mind having. But, you know? With more than 400 polishes in my Helmers..."wouldn't mind having it" isn't a good enough reason to buy anymore. The only thing I've really been wild for are the Tudor wives polishes from Rescue Beauty Lounge, and I passed on the pre-order because I couldn't justify the expense at the time.

Chanel always gets me, however. As the saying goes on MUA "there's no regret like Chanel regret" and I have found that to be true. Initially I was tempted by the Soho Story colors but when I saw swatches and heard the initial reports I did not feel a burning desire to own them. I cannot however say the same for Khaki Vert, which is on its way to me as we speak. It was the first birthday nail polish I purchased for myself and I'm very excited for it to arrive.

Anyway...on to the other finds...

My boyfriend very kindly agreed to come with me to Rite Aid on my birthday and I had such good nail polish birthday karma going that I still can't really believe it. They had some Halloween displays (I passed), the new Borghese collection, new-ish Sally Hansen Xtreme line, the new Sally Hansen Insta-Dris and the new Revlon Suedes. What!! This never happens. The only downfall of Rite Aid, really, is that they don't carry Milani. Or at least the ones around here don't.

Photobucket

I chose Powder Puff and Emerald City from the Revlon Suedes. I really wish that "Emerald City" would be retired as a nail polish name, FOREVER. I get it...it's green and sparkly...I don't know, at this point I would accept "Peridot City" in lieu of "Emerald City." At least it would be something new.

Photobucket

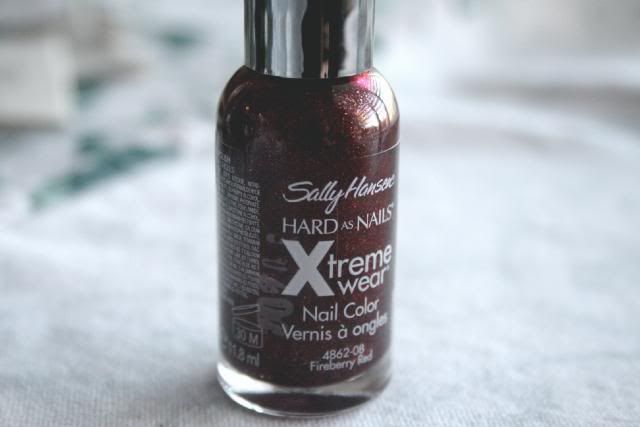
I received Mystic Lilac and Concrete in a swap from an awesome MUAer, so I just picked one SH Xtreme: Fireberry Red. To be honest this looks a bit similar to other polishes I have (namely, China Glaze's Ruby Pumps), but it was so pretty that I caved. At about $2.70 each, SH Xtremes have great bang for your nail polish buck.

Photobucket

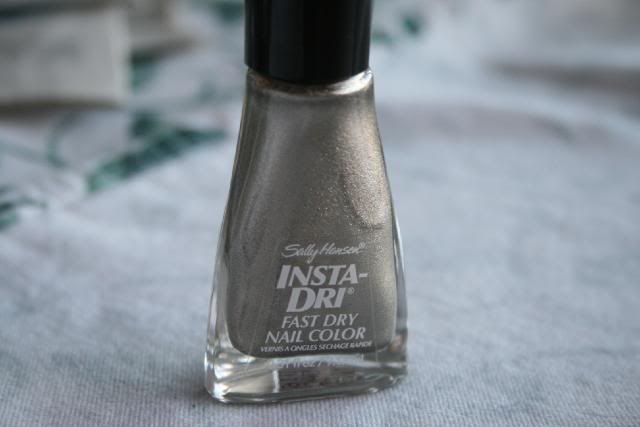
I almost didn't get anything from the new Insta-Dri line. I keep passing these up, and even the ones I've purchased I mostly end up swapping or giving away. For some reason the colors never really do it for me and the brush is...well... a nightmare. It's huge. Wide. Gargantuan. And...shaggy. But for some reason I felt compelled to buy Metallic Momentum, which someone on the nail board likened to Chanel Kaleidoscope, which, hm, maybe? I don't know. I DON'T HAVE THE CHANEL. Which is something I'm getting very used to saying. Haha.

Photobucket

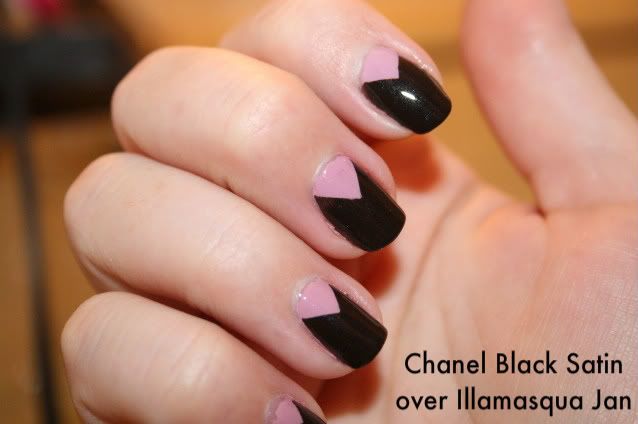
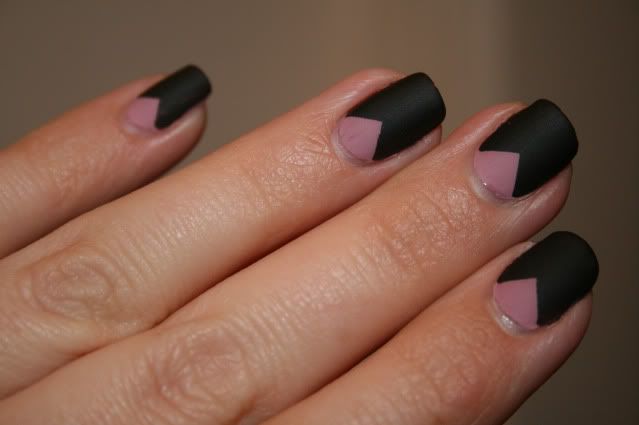
I used MM to do a chevron manicure - the only form of "nail art" I can successfully execute - over OPI Mrs. O'Leary's BBQ.

Photobucket

I'm a big fan of the chevron look, I just often find myself much, much too lazy to actually do it. I feel like this would be a good holiday combination. MM is a very pretty polish, however, it cements my theory that I am just actually not all that fond of metallics on my nails. But perhaps if you despair of ever acquiring the Chanel, this will quench your thirst.

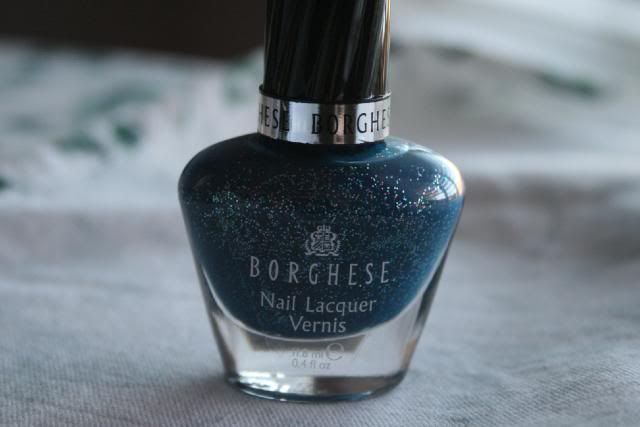
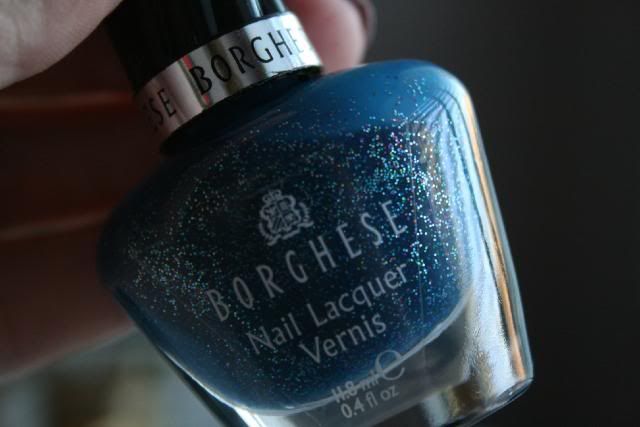
Finally, here is Borghese's Mediterraneo Sea, from the very sparkly Scintillaire collection.
Photobucket


Boy, Borghese. Talk about a brush I hate. It's like they are deliberately butchered to provide the worst application possible. They are literally terrible. This is why I don't own many Borgheses...it took me a long time to warm up to the $8 price tag, and then when I discovered that awful brush wasn't an anomaly but rather standard issue...well...sigh. But this is a pretty, unusual glitter/color combination.
Photobucket


I look forward to showing you more of these on the nail...as always, thanks for looking!
9/9/10

Change of address; SPARKLE!

Here's my little bit of news: You can now point your browsers directly to www.nailpolishnonsense.com, no "blogspot" required. It only took me one million Internet years to do this, so, hooray! *throws confetti*

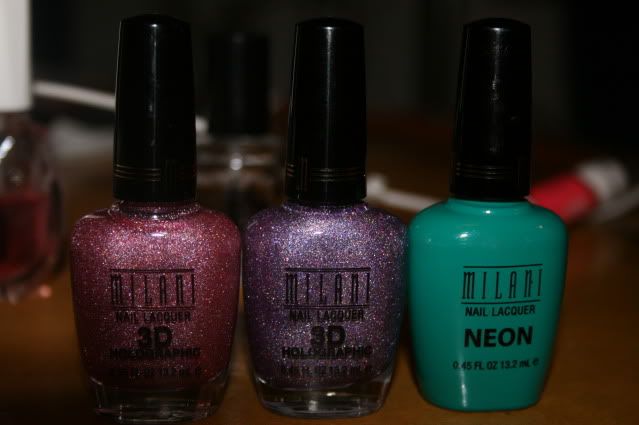
To celebrate, I present to you an appropriately happy nail polish, Milani Hi-Res. This was from the 3-D Holographic collection that appears to be offered with the core Milani line in most stores, along with the neon lacquers in the opaque bottles. (It's funny...we like our polish opaque and our bottles see-through.)

Milani holo purple Hi-Res

This is a beautiful polish, shown here with two layers. It took me a while to warm up to holos, but this is absolutely mesmerizing on the nail.

Milani's formula always works very well for me and this was no exception. By the way, this has been sitting in my untrieds for months and months. Why did I wait so long?!

Milani holo purple Hi-Res


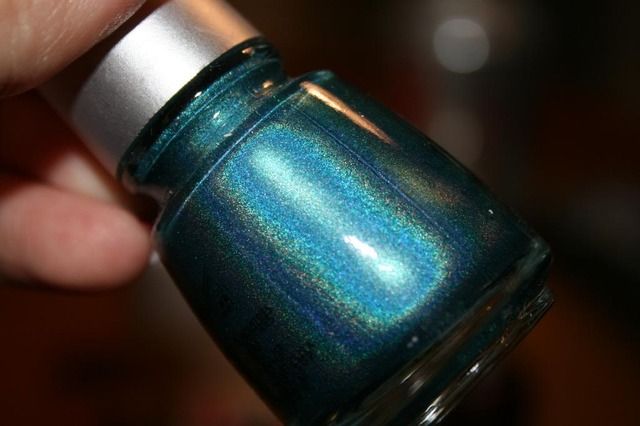
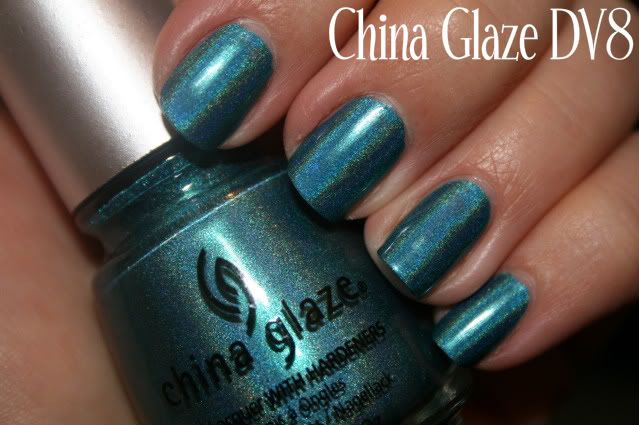
Now I'm quite eager to use the other Milani 3-D Holographic polish I have, Digital. It's the light pink holo from the collection. I skipped the green in that collection on the basis of already owning China Glaze DV8, which is one of my favorite polishes ever.

China Glaze,holo,DV8,blue,green,glitter,bottle pic


Photobucket


Ah, I love that one. Sigh. I should wear it again soon.

Here's a bottle pic of the Milani holos, for your shopping pleasure.

Photobucket

9/8/10

Updates

Oh goodness, it's been a while!

I have one little update to share with you soon, along with some pictures and thoughts as per usual.

Please stay tuned and we'll talk turkey (or rather...polish) again shortly!